Skiing is one of the most exciting and unique sports in the world, but there are also a lot of dangers and risks to be aware of, and no skier should attempt to head out on the slopes without a rudimentary understanding of some key things such as skiing etiquette and what the slope colors actually mean.
This is really important because ski slopes can be quite chaotic places. It’s easy to get lost on the mountain with so many people and diverging routes which often interlink and split off in different directions.
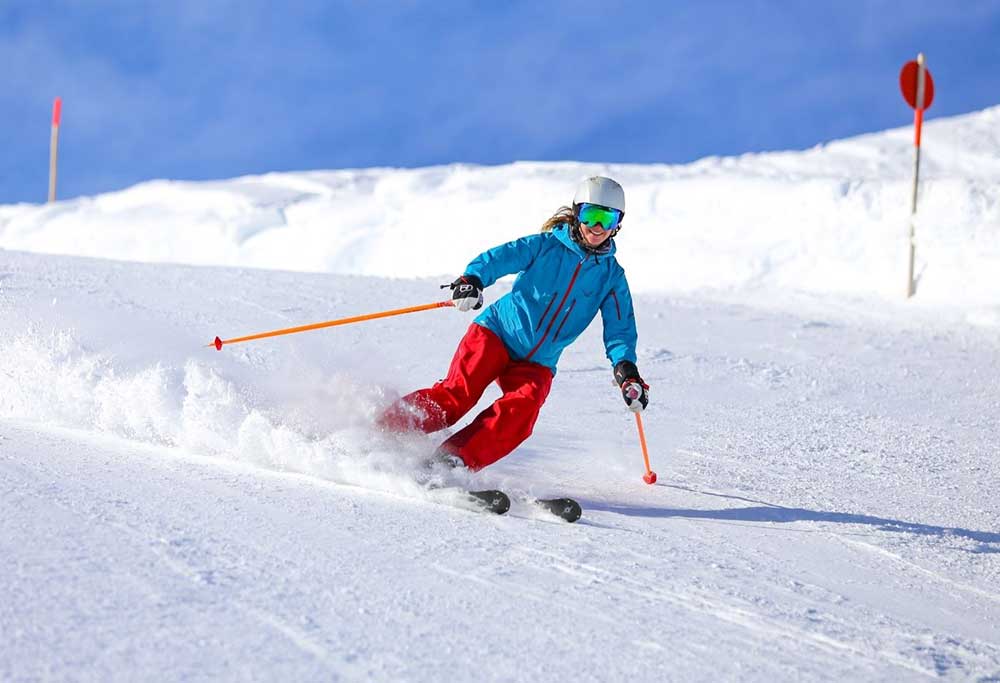
If you become separated from your group as a beginner you’ll need to be able to make sure you can get down the mountain safely. Knowledge of the safest routes you can take is key to getting back to your group.
Luckily, there are recognized color-based rating systems for ski slope difficulty which uses various colors to help skiers of all abilities easily pick out routes that suit their ability level.
This helps people to stay on track regardless of their native language or where they are in the world.
Ski slope colors indicate a range of features such as the steepness of the slope and the technical ability required to navigate the various obstacles on the route, whether they be moguls or simply very narrow sections of the slope.
It’s important to note however that North American slope ratings are not compatible with Europe and the rest of the world.
Canada and the USA use different systems, so in this article, we’re going to highlight both systems separately to make sure you can find the right slope for you wherever you are in the world.
One key thing to note is that the green slope is always the easiest slope type, and this is true using both the North American and European rating system, making it clear for total beginners where they will be safe to practice.
Its also important to note that not all slopes will always be consistently difficult, and quite often slopes are given a rating based on their most challenging section, so a run may have varying areas of difficulty and not be consistently difficult throughout.
It’s also true that there will always be some degree of difference between a blue in one resort and a blue in a different resort for example, as the natural gradient of that particular mountain and route will of course be slightly different from a run in a different location.
Overall, this rating system is a great way to give skiers all the information they need quickly to allow people to pick routes safely and effectively. Now let’s take a look at the different systems.
The European/Rest of the World System
- Green - Beginner
- Blue - Early Intermediate
- Red - Advanced Intermediate
- Black - Expert
The North American System
- Green with a white center - Beginner
- Green - Novice
- Blue - Intermediate
- Black Diamond - Advanced
- Double Black Diamond - Extreme
There are some additional signs you may see in some resorts.
Sometimes an Orange diamond is used to show a trail that is harder than a double black diamond and is essentially the most extreme warning you can get about the difficulty and risk of a particular area of the piste.
Some resorts also use a black diamond inside a blue square to indicate a run that is somewhere in between a blue and a single black diamond.
These ratings are fairly uncommon however and most resorts stick to the main categorizations.
Now let’s take a look at each of the different slope types and what sets them apart to give you a better idea of which slopes you should use depending on your own confidence and skill level.
Green Runs
- Europe - Green circle
- North America - Green with white center
Green slopes are the easiest slopes available at most resorts and represent very simple and gentle slopes that are wide and shallow, with a gradient of less than 25% and with a lot of space for practice.
These slopes are some of the first places brand new skiers will begin building their confidence.
Classes will often be done in these areas to teach children and total beginners the rudimentary skills required to ski, and offer a safe environment to build confidence, and are often conveniently located near to the resort.
These slopes often use travelators or standing lifts to help bring beginners to the top of the slope, and often have a large flat run-off area so that skiers can have plenty of time and space to stop and fall without endangering themselves or others.
The lifts on greens are usually quite slow-moving but don’t underestimate them, there’s always someone who ends up falling down while using the standing lift.
A key tip to remember on the standing lift is that if you fall, don’t cling on to the rope! Let go and roll out of the way to make sure skiers behind you on the lift aren’t disrupted by you.
The attendants in this area are usually friendly and helpful as new skiers need a lot of encouragement in order to build their confidence.
It’s common for beginners to spend a few days learning the basics of stopping, turning, and using lifts before considering moving up to more difficult slopes.
Sometimes green runs serve as connective areas or meeting points linked to more advanced runs, so don’t panic if you see more advanced skiers speeding through, they will be able to avoid you very easily and you should not allow this to disturb you.
Blue Runs
- Europe - Blue circle
- North America - Blue Square
Blue slopes are the middle ground in terms of difficulty with a gradient between 25% and 40%.
These are the runs that are most popular among tourists on their first ski trip, as they provide an excellent proving ground once you’ve graduated from the green slopes.
Blue slopes will tend to be a little narrower than greens and will be much faster due to their increased gradient. It’s important to remember not to stop in the middle of the piste as this makes you an accident waiting to happen.
If you need to stop find the edge of the piste and stop there, where you’re far less likely to get hit by oncoming skiers.
Blues can be challenging and are a marked step up for new skiers, but be patient, take your time, and don’t panic!
It’s also important to note that the lifts on blue slopes will travel much more quickly, so keep your wits about you and remember to keep your skis together.
A good trick when dismounting is to allow the lift bench to push you along as you dismount, using it to gain a little speed and then push away from the lift entirely.
Red Runs
- Europe - Red Circle
- North America - Single black diamond, or blue square with a black diamond inside it
European Reds and North American black diamonds represent another step up in difficulty where the terrain really starts to become steep and difficult.
These are slopes for confident skiers who are able to link turns very smoothly and quickly, and are able to control their speed effectively even on steep or difficult sections.
Reds/Black diamonds also often incorporate obstacles such as moguls or bumps and can get quite narrow, making it difficult to tie together turns and requiring much more finesse and confidence.
If you’re unable to parallel turn effectively and can’t hockey stop on both sides red runs are most likely not a good idea.
Blacks/Double Black Diamond Runs
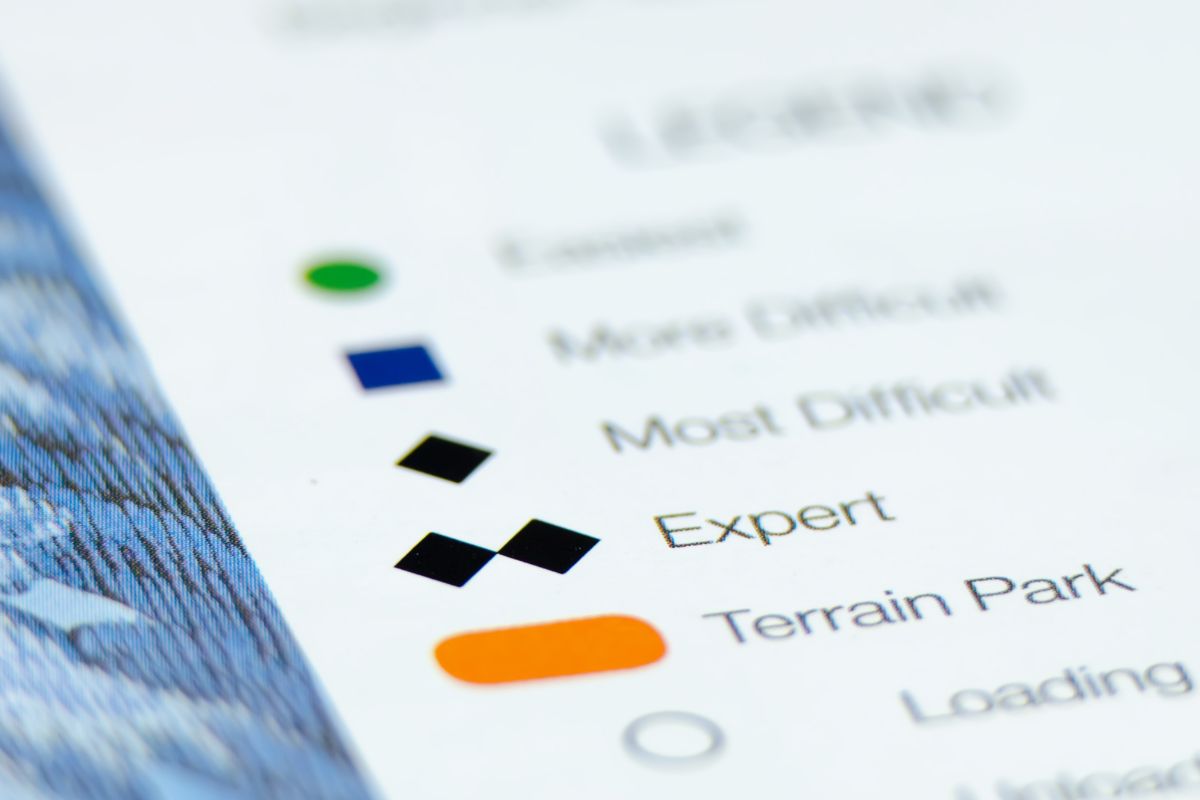
- Europe - Black Circle
- North America - Two Black Diamonds
Black Slopes run at gradients exceeding 40% and are very steep. These slopes are designed to challenge expert skiers who have been skiing for years and who are extremely confident in their abilities.
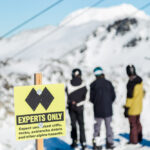
Quite often runs with a black or double black diamond warning incorporate some of the most challenging skiing conditions, such as moguls, very narrow sections, or even off-piste areas, all of which are very dangerous for even intermediate skiers to try and tackle.
Other Signs
Some resorts use markers for jump parks and skills areas, which may have grinding pipes, kickers, and jumps. These are very dangerous areas where skilled freestylers will be practicing their moves and flying through the air at speed.
Don’t linger in these areas if you happen across them and never stop anywhere after a jump.
Final Thoughts
As you can see, there’s a lot to keep track of when skiing, and it’s important to know where you’re safe and where you aren’t, as skiing is one of the most dangerous sports in the world.
Using the signage and paying close attention to junctions and track splits is key to making sure you stay safe on the mountain and continue to build your confidence gradually, rather than jumping in straight at the deep end.
A few days learning the ropes at the green slope is much more fun than a few weeks spent in the hospital!
Finally, don’t let your friends pressure you into doing anything you’re uncomfortable with, and always, always wear a helmet even in the beginner areas.
- Types of Skiing Terrains: A Comprehensive Guide for Every Skier - December 6, 2024
- Skiing Nutrition: Essential Nutritional Advice and Meal Planning for Skiers - August 15, 2024
- Backcountry Skiing Explained: Essential Tips and Gear - August 8, 2024


